
SpringBoot 静态资源
注意:文章中有些截图是之前使用Eclipse编译工具的截图,但是并不影响阅读
使用Spring Boot创建一个Web工程,那至少应该可以先访问一个HTML页面吧,那么问题来了,在Spring Boot工程中,我们的静态资源文件应该放在哪里呢? 注意我这里的所说的静态资源是哪些呢?
- 首页
- 自己的HTML,CSS和JS文件
- 引用的外部的CSS,JS或者HTML文件
- favicon.ico
- 模板文件
其实,与其说在Spring Boot工程中这些文件该放在哪里,不如说Spring Boot的默认配置是怎么配置的,要求我们将这些文件放在哪里. 所以一定要注意Spring Boot的这一点
约定大于配置
很多东西其实就是Spring Boot已经帮我们约定好了
WebMvcAutoConfiguration和ResourceProperties
Spring Boot的很多约定,都在 spring-boot-autoconfigure.jar 包中,而且通常都是:
XXXAutoConfiguration 给容器自动配置组件
XXXProperties 封装配置文件的内容
关键静态文件的配置,主要封装在下面两个类中:
org.springframework.boot.autoconfigure.web.WebMvcAutoConfiguration
org.springframework.boot.autoconfigure.web.ResourceProperties
在ResourceProperties.java类,有这么一段关键代码
private static final String[] SERVLET_RESOURCE_LOCATIONS = { "/" };

private static final String[] CLASSPATH_RESOURCE_LOCATIONS = {
        "classpath:/META-INF/resources/", "classpath:/resources/",
        "classpath:/static/", "classpath:/public/" };

private static final String[] RESOURCE_LOCATIONS;

static {
    RESOURCE_LOCATIONS = new String[CLASSPATH_RESOURCE_LOCATIONS.length
            + SERVLET_RESOURCE_LOCATIONS.length];
    System.arraycopy(SERVLET_RESOURCE_LOCATIONS, 0, RESOURCE_LOCATIONS, 0,
                SERVLET_RESOURCE_LOCATIONS.length);
    System.arraycopy(CLASSPATH_RESOURCE_LOCATIONS, 0, RESOURCE_LOCATIONS,
                SERVLET_RESOURCE_LOCATIONS.length,  CLASSPATH_RESOURCE_LOCATIONS.length);
}
说了半天,简单来说:
Spring Boot约定的静态文件的路径就是类路径下的这几个
1. classpath:/META-INF/resources/
2. classpath:/resources/
3. classpath:/static/
4. classpath:/public/
而且加载的先后,也是依照这个顺序.
静态文件位置测试
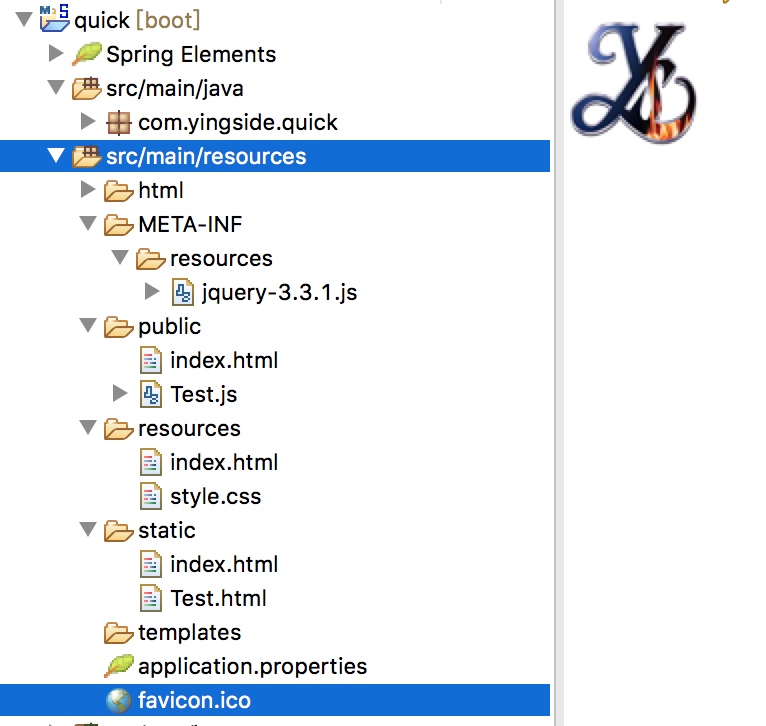
按照上面的约定,我们放几个测试文件到程序中去看一看效果,文件的结构是下面的这个样子.
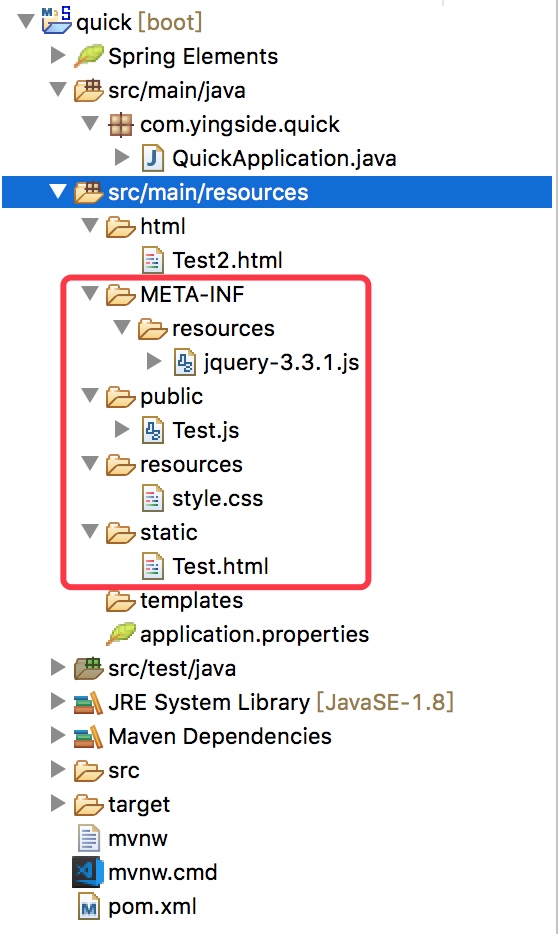
在src/main/resources目录下,分别在规定的不同的文件夹下放入了Test.html,Test2.html,style.css,Test.js和jquery-3.3.1.js文件,其中,Test2.html我并没有按照Spring Boot所规定的路径存放
注意: 只要是静态资源文件,这几个文件夹随便你放在哪里都可以,并不是一定要按照我这里的位置存放
先来看一下文件内容
Test.html
<!DOCTYPE html>
<html>
<head>
<meta charset="UTF-8">
<title>测试</title>
</head>
<body>
<h1>测试静态页面</h1>
</body>
</html>
Test2.html
<!DOCTYPE html>
<html>
<head>
<meta charset="UTF-8">
<title>测试2</title>
</head>
<body>
<h1>测试静态页面2</h1>
</body>
</html>
style.css
h1{
    color:red;
}
Test.js
alert("hello");
启动好程序之后,在浏览器页面,直接在主机地址后输入对应静态文件的名字就可以了,也就是说:
Spring Boot会在
classpath:/META-INF/resources/, classpath:/resources/,classpath:/static/, classpath:/public/这几个路径下,依次的轮询查找你输入的文件名
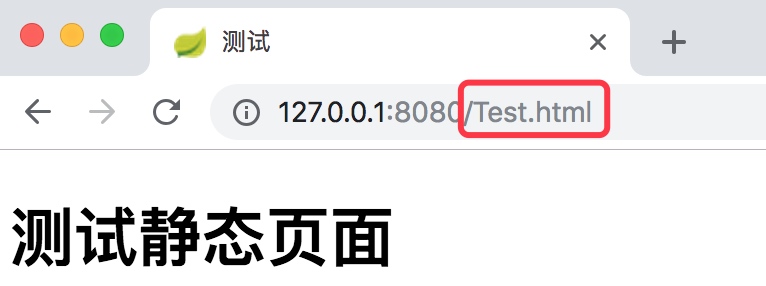 在浏览器上都能正确的找到
Test.html,style.css,Test.js和jquery-3.3.1.js文件,而放入在Test2.html文件由于没有按照规定放入,页面提示错误页面,找不到该文件

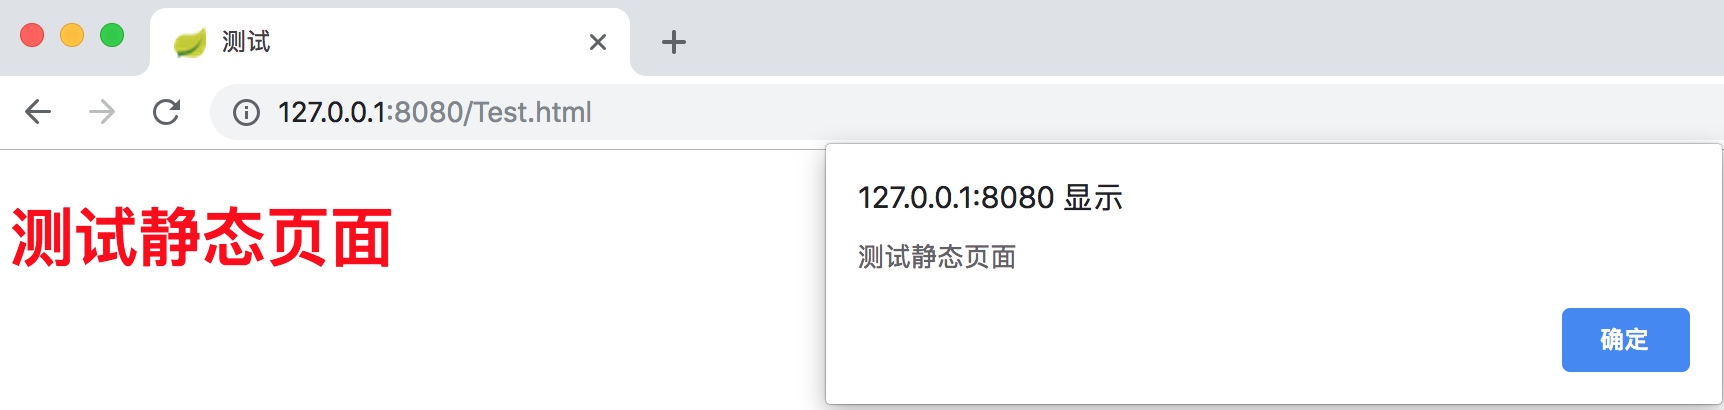
当然,我们把静态资源集成起来也是没有任何问题的,修改一下Test.html页面,将css,js与jquery文件都集成进去
<!DOCTYPE html>
<html>
<head>
<meta charset="UTF-8">
<title>测试</title>
<script type="text/javascript" src="Test.js"></script>
<script type="text/javascript" src="jquery-3.3.1.js"></script>
<link rel="stylesheet" href="style.css" type="text/css" />
</head>
<body>
<h1>测试静态页面</h1>
</body>
<script>
$('h1').on('click',function(){
    alert($(this).text());
})
</script>
</html>
首页
甚至于网站的首页,Spring Boot都已经帮我们配置好了,也就是说,只要我们输入主机地址(127.0.0.1:8080),就应该会跳出一个首页页面. WebMvcAutoConfiguration.java
@Bean
public WelcomePageHandlerMapping welcomePageHandlerMapping(
        ResourceProperties resourceProperties) {
    return new WelcomePageHandlerMapping(resourceProperties.getWelcomePage(),
            this.mvcProperties.getStaticPathPattern());
}
ResourceProperties.java
public Resource getWelcomePage() {
    for (String location : getStaticWelcomePageLocations()) {
        Resource resource = this.resourceLoader.getResource(location);
        try {
            if (resource.exists()) {
                resource.getURL();
                return resource;
            }
        }
        catch (Exception ex) {
            // Ignore
        }
    }
    return null;
}

private String[] getStaticWelcomePageLocations() {
    String[] result = new String[this.staticLocations.length];
    for (int i = 0; i < result.length; i++) {
        String location = this.staticLocations[i];
        if (!location.endsWith("/")) {
            location = location + "/";
        }
        result[i] = location + "index.html";
    }
    return result;
}
还是在这两个类中都已经配置好了,其意思简单来说就是:
将静态资源路径全部轮询,然后自动在后面加上index.html的后缀.也就是当我们输入主机地址127.0.0.1:8080之后,Spring Boot就会自动在静态资源文件夹中查找有没有index.html文件,如果找到了就直接显示出来,轮询查找的顺序,就是放入到静态资源数组staticLocations里面的顺序
测试一下,在静态资源文件夹中都放入一个名叫index.html的文件,如下图:
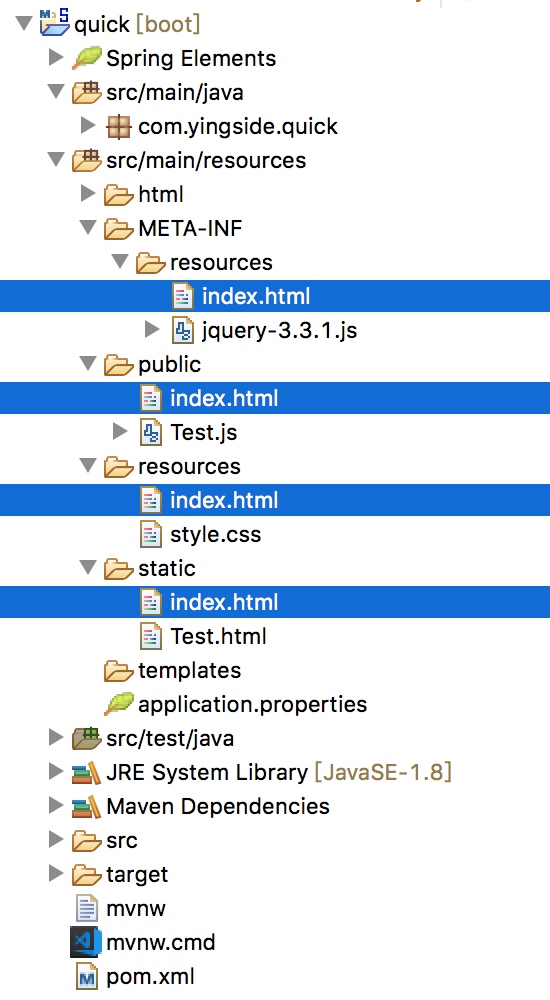
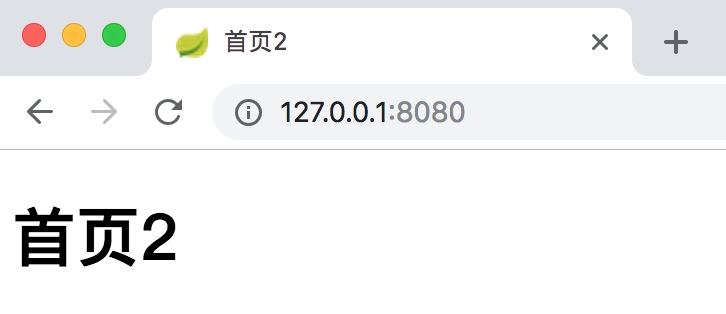
只不过文件中的内容稍有不同,按照顺序依次显示首页1到首页4
1. classpath:/META-INF/resources/index.html   ----> 首页1
2. classpath:/resources/index.html   ----> 首页2
3. classpath:/static/index.html   ----> 首页3
4. classpath:/public/ index.html   ----> 首页4
当我们启动浏览器访问:127.0.0.1:8080,直接输入地址,就能显示
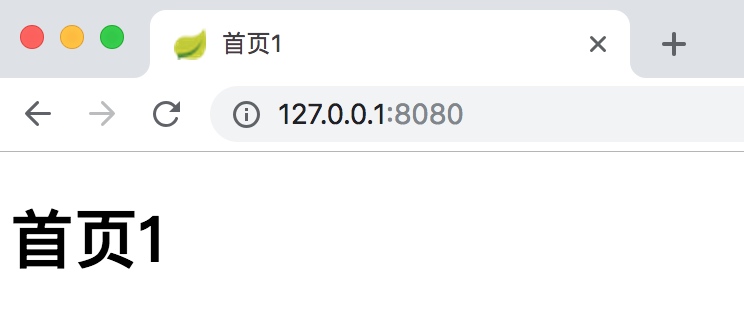
很明显,这里自动找到的首页是放在classpath:/META-INF/resources目录下的index.html,如果删除这个index.html文件,重启服务之后,你会发现,找到来的就是classpath:/resources目录下的index.html文件了
favicon
Spring 2.2.x以上的版本已经废除了原有的Favicon的相关设置...没有了默认的Icon,如果需要修改icon,直接在HTML页面中设置就好了
有没有发现我们启动的Spring Boot页面,都有一个Spring的默认ico小叶子
 这个其实也是有默认配置,也是可以去掉和替换的,同样还是在
WebMvcAutoConfiguration.java和ResourceProperties.java中有这样两段代码
WebMvcAutoConfiguration.java
@Configuration
@ConditionalOnProperty(value = "spring.mvc.favicon.enabled", matchIfMissing = true)
public static class FaviconConfiguration {

    private final ResourceProperties resourceProperties;

    public FaviconConfiguration(ResourceProperties resourceProperties) {
        this.resourceProperties = resourceProperties;
    }

    @Bean
    public SimpleUrlHandlerMapping faviconHandlerMapping() {
        SimpleUrlHandlerMapping mapping = new SimpleUrlHandlerMapping();
        mapping.setOrder(Ordered.HIGHEST_PRECEDENCE + 1);
        mapping.setUrlMap(Collections.singletonMap("**/favicon.ico",
                faviconRequestHandler()));
        return mapping;
    }

    @Bean
    public ResourceHttpRequestHandler faviconRequestHandler() {
        ResourceHttpRequestHandler requestHandler = new ResourceHttpRequestHandler();
        requestHandler
                .setLocations(this.resourceProperties.getFaviconLocations());
        return requestHandler;
    }

}
ResourceProperties.java
List<Resource> getFaviconLocations() {
    List<Resource> locations = new ArrayList<Resource>(
            this.staticLocations.length + 1);
    if (this.resourceLoader != null) {
        for (String location : this.staticLocations) {
            locations.add(this.resourceLoader.getResource(location));
        }
    }
    locations.add(new ClassPathResource("/"));
    return Collections.unmodifiableList(locations);
}
简单来说,这两段代码的意思,默认Spring的小叶子ico是打开的,这段注解就明确说明了问题
@ConditionalOnProperty(value = "spring.mvc.favicon.enabled", matchIfMissing = true)
很容易理解,如果我们不想页面上显示任何favicon图标,将spring.mvc.favicon.enabled=false就可以了,当然,这个我们需要使用配置文件application.properties,关于配置文件,我们后面再一起说明,现在我们就使用默认配置.
如果我们想修改favicon图标,就可以将我们自己的favicon.ico文件放在下面的地址就可以了
1. classpath:/META-INF/resources
2. classpath:/resources
3. classpath:/static
4. classpath:/public
5. classpath:/
比如,我直接在classpath路径下,存入一个自己的favicon.ico文件
启动服务之后,ico就发生改变了

webjars
在上面的静态文件中,其实我们还引用了外部的js文件,jquery-3.3.1.js,像这种静态外部文件,可能在我们的工程中会引入很多,而且甚至有一些还是包含了html,css,js,font字体等等文件在一起的外部资源,如果我们要一个个去下载引入这些资源的话,不是不可以,但是还是费事.所以,Spring Boot也有了一个整合的整体方案:
将比较常见的外部资源打成一个jar包,也通过Maven去进行管理,这样就省去了我们自己去组织管理这些文件的麻烦事情,这些外部静态资源的统一名字就叫 webjars
WebMvcAutoConfiguration.java
public void addResourceHandlers(ResourceHandlerRegistry registry) {
    if (!this.resourceProperties.isAddMappings()) {
        logger.debug("Default resource handling disabled");
        return;
    }
    Integer cachePeriod = this.resourceProperties.getCachePeriod();
    if (!registry.hasMappingForPattern("/webjars/**")) {
        customizeResourceHandlerRegistration(registry
                .addResourceHandler("/webjars/**")
                .addResourceLocations("classpath:/META-INF/resources/webjars/")
                .setCachePeriod(cachePeriod));
    }
    String staticPathPattern = this.mvcProperties.getStaticPathPattern();
    if (!registry.hasMappingForPattern(staticPathPattern)) {
        customizeResourceHandlerRegistration(
                registry.addResourceHandler(staticPathPattern)
                        .addResourceLocations(
                                this.resourceProperties.getStaticLocations())
                        .setCachePeriod(cachePeriod));
    }
}
其中,这一段代码已经明确说明了webjars的位置和网页映射
if (!registry.hasMappingForPattern("/webjars/**")) {
    customizeResourceHandlerRegistration(registry
            .addResourceHandler("/webjars/**")
            .addResourceLocations("classpath:/META-INF/resources/webjars/")
            .setCachePeriod(cachePeriod));
}
文件需要放在classpath:/META-INF/resources/webjars/路径下,
这个位置不需要你去建立,而我们只需要在Maven的pom.xml文件中,指明我们需要引入的webjars文件是什么就可以了.
而访问的时候则要以 /webjars开头,比如:127.0.0.1:8080/webjars/xxx/xxx.js
那么问题来了,我们到哪里去找外部资源文件的webjars?POM.xml文件里面该怎么引入?这个其实有专门的webjars网站在管理:
https://www.webjars.org
 这样就简单了,我们只需要将合适版本的
dependency复制粘贴进自己的pom.xml文件中就可以了
比如最新的jquery dependency
<dependency>
    <groupId>org.webjars</groupId>
    <artifactId>jquery</artifactId>
    <version>3.3.1-1</version>
</dependency>
pom.xml文件更新之后,你就可以在自己的Maven包中,看到下面的内容了:
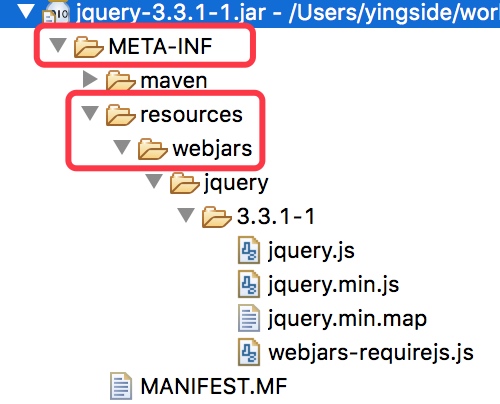 而且,路径也已经是给你配置好了的,直接访问,注意访问的路径:
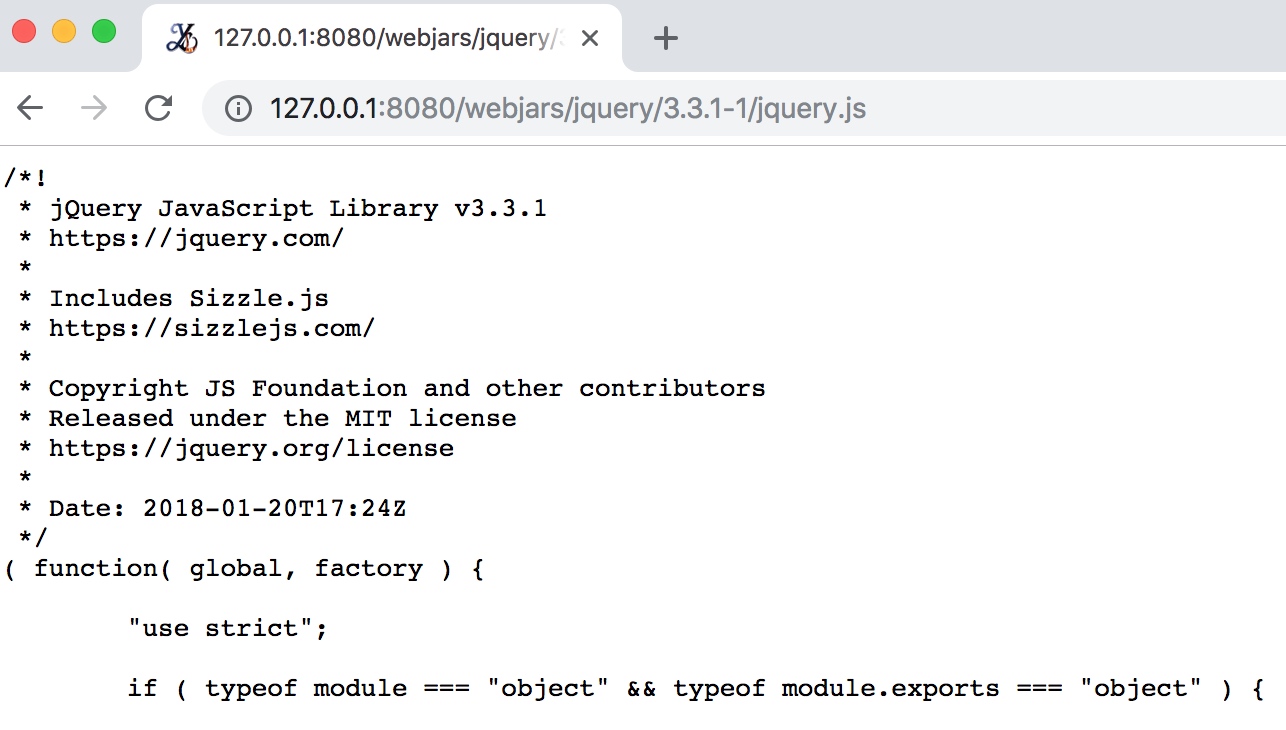
所以,我们在页面里引用的时候,也就可以写成下面这个样子:
<script type="text/javascript" src="webjars/jquery/3.3.1-1/jquery.js"></script>
Comments